


Add Users To Google Analytics In Just 5 Easy Steps!
In today’s digital age, marketing data plays a pivotal role in shaping successful business strategies. At Dorset Tech, we recognize the significance of accurate and actionable insights provided by tools like Google Analytics (GA) and Google Search Console (GSC). With the introduction of the new GA4 conversion and the subsequent deprecation of GA3, it has become more crucial than ever for professionals to grasp the intricacies of these powerful analytics platforms. In this blog post, we will guide you through the process of adding and removing users from Google Analytics, empowering you to leverage this invaluable resource effectively in only 5 steps!
Watch This Video here:
How To Add Users To Google Analytics
Contents:
- Were to get to access Google Analytics
- Locating your Google Analytics data stream
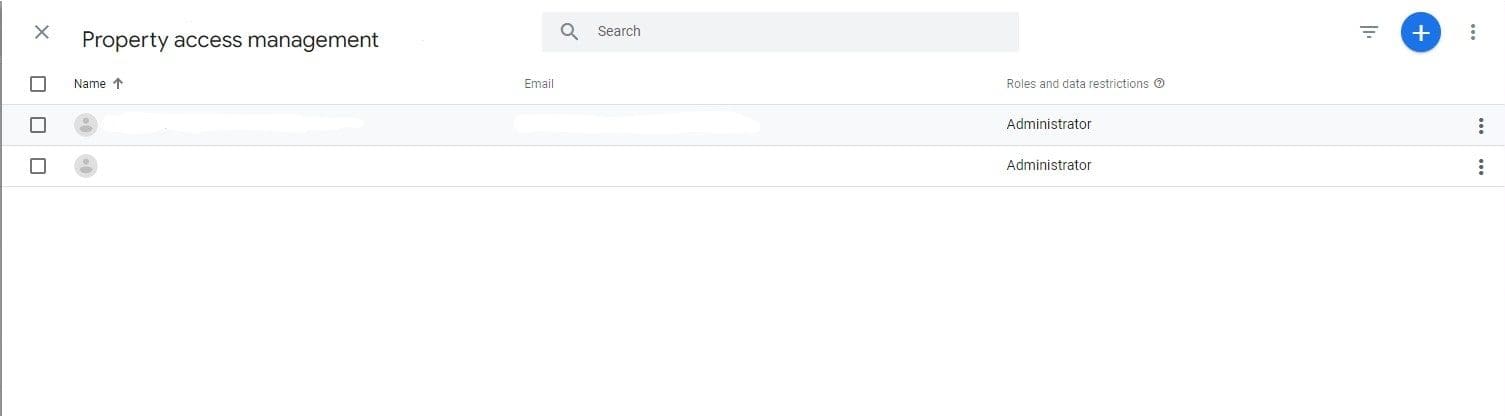
- Where to add users
- Types of User Control/ Account Management vs Property Management
- Adding the Users
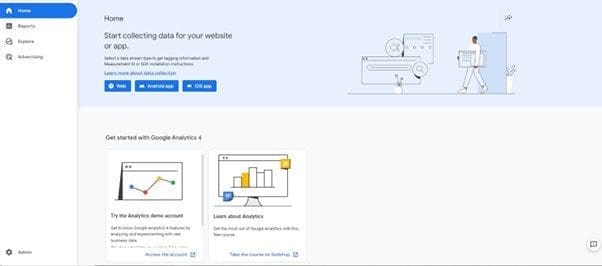
Step One: Where to access Google Analytics
To access google analytics you will need to be signed into Google with a Google account. Head to Google Analytics or search for Google Analytics and log in with your Google account That you use or wish to use google analytics. If you don’t have google analytics attached to your WordPress site then visit our blog on setting up Google Analytics.
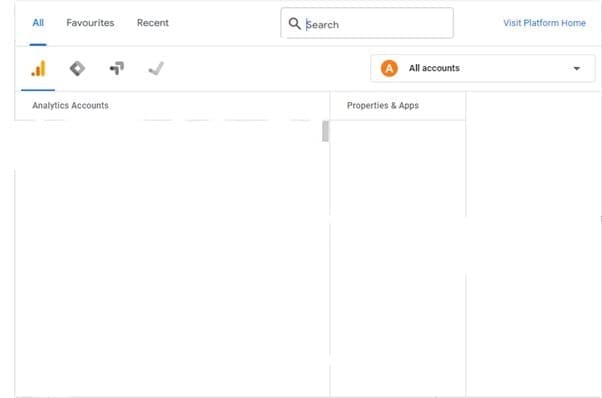
Step 2: Finding your Google Analytics Data Stream ( if you have more than one account)
Navigate to the top left drop-down and search or manually find the data stream that you wish to add a user too

Step 3: Where to Add Users
Once you have located your data stream you next need to know where to add your users. Navigate to the bottom left of your screen there should be a cog icon.
Once you click on the admin icon you will be met with a range of menus
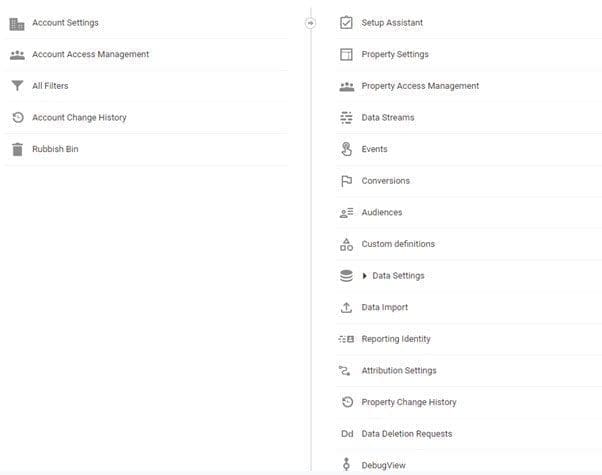
Step 4: The Difference Between Account Access Management and Property Access Management
the Accounts have access to any properties that you make under them so giving someone account management means to provide them with power over all properties that are inside of that account. Property management only gives access to that singular data stream/ property.
Step 5: Adding the user
Once you click the use management that you wish whether that’s an account or property access management click the blue plus icon (top right) and chose whether you add a group of uses or one:
![]()
Once chosen you can start filling in the requested data from the email (must be an active Google Email address) to the level of management (None, Viewer, Analyst, Marketer, Editor, Administrator)
Administrator:
Full control of Analytics. Can manage users (add/delete users, assign any role or data restriction). Can grant full permissions to any user, including themselves, for any account or property for which they have this role.
Includes permissions of the Editor role.
(Replaces Manage Users permission.)
Editor:
Complete control of settings at the property level. Cannot manage users.
Includes permissions for the Analyst role.
(New name for Edit permission.)
Marketer:
Can create, edit, and delete audiences, conversions, attribution models, events, and conversion windows.
Includes permissions for the Analyst role.
Analyst:
Can create, edit, and delete certain property assets. Can collaborate on shared assets.
Includes permissions of the Viewer role.
(New name for Collaborate permission.)
Property assets include things like Explorations.
Editor:
Can see settings and data; can change which data appears in reports (e.g., add comparisons, add a secondary dimension); can see shared assets via the user interface or the APIs. Cannot collaborate on shared assets. For example, shared explorations can be viewed, but not edited, by those with a Viewer role.
(New name for Read & Analyze permission.)
None:
The user has no role in this resource. The user may have a role for another resource.
Step 5: The Final Stretch
Once you have finished inputting all the data click the big blue add button…1.2.3.. Tada! You’re done you have successfully added a new user.
How to Remove Users:
The only step you need: Where to remove them
Navigate to where you add users and click on the user you wish to remove.
Then top right there will be a remove button next to the add button click that and BAM! You’re done.
In conclusion, the process of adding a user to Google Analytics can be accomplished in five simple steps, while removing a user requires just one step. When it comes to seeking expert advice and learning helpful tricks for optimizing your Google Analytics experience, Dorset Tech is the reliable partner you can count on.
Is your site still using GA3 and in need of an upgrade? Visit our GA4 conversion prices or our blog to understand the situation more.
Until Nextime Fellow Web Superheros!